How to Build a Cat Tree For Under $100 | Sydney Pet Photographer
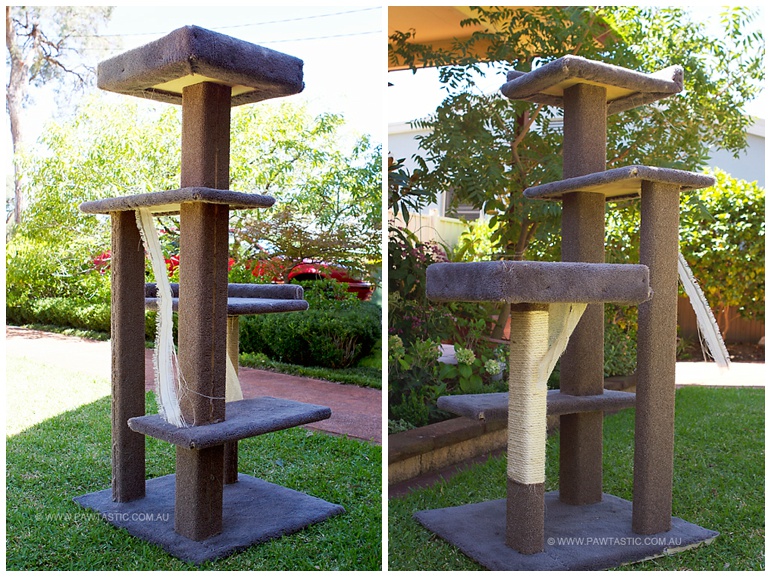
I don't know about you but when I first started looking for a cat tower to buy for my little girl Moxie, I was SHOCKED at the prices of them! I couldn't believe how much they cost and quite frankly, I couldn't afford them. However, I knew one of the best things to keep an inside cat happy is a nice perch from which to watch the outside world and so I didn't want to give up completely...but what to do? In the end, I decided to get my DIY on! For a couple of hours effort I saved a lot of mula.
In this post I'm going to show you a couple of tips that saved me more money when I went to build my cat tree. I won't be going through in detail how I actually built the tree but rather I'll show you where to start and how to do it cheaply.
Plans: Now I'm a girl that likes a plan and a to do list is my best friend so when I decided to make my own cat tree the first stop for me was to get a plan for a tree I liked. Here, the internet is your best friend. If you type 'cat tree plans' or 'free cat tree condo plans' you will get an abundance of freebies that will help you.
When you're looking online make sure you pick a plan that:
a) has all the sizes and measurements that you need for each piece of the cat tree
b) has detailed instructions on how to assemble it
c) will fit in the space you need it to (there's nothing worse than building something only to realise that it does't fit properly)
Next step is sourcing the materials you need for the tree. Here are a few handy hints to remember when buying your products:
Timber/Wood: Offcuts. Use offcuts for the smaller sections of your cat tree. In Bunnings and at timber yards they usually have offcuts of pieces of timber that tradespeople have left behind because they didn't need them for their jobs. These offcuts are A LOT cheaper to buy than a full piece of timber that you cut to size. I built a cat stand with $1 offcuts and the leftovers from the DIY cat tower I built. You won't be able to get all the pieces of your cat tree using offcuts but you can save some money buying them for the smaller sections.
For the steps or seating sections of the cat tree ply is a good, durable and low cost option. You can also buy it in different size sheets that you can get cut to the sizes you need, for no extra cost at places like Bunnings. This will save you a lot of time and effort so I suggest you take advantage of places that offer this. Also if you buy the ply in a larger sheet and have it cut to size it will generally work out cheaper than buying smaller pieces and you could even have some left over for another cat tree or scratching post. Bonus!
Carpet: Here offcuts rule once again. Remember, you only need the carpet for certain sections of the tree. You're not covering an entire floor with it so you won't need as much. Find a carpet place that sells their offcuts or are willing to give them to you for free. They're out there, trust me. Most of the time it just requires you to ask. Most carpet places don't do anything with their offcuts and are happy to pass them along. That being said, I've had more success with independent carpet places than the chain store variety.
Sisal Rope: I've usually just bought my sisal rope from Bunnings. Go for off the roll instead of the pre-packaged variety. It usually costs you less but do your own sums while you are there and work out the cheapest per metre. If you're planning to make more than one cat tree or cover more than one leg of the tree if may be a good idea to check out what you can get online. You always use more sisal rope than you think you would and if you're making multiple trees or stands it may be more cost effective to buy the rope in bulk.
That just leaves things like screws and nails, which I'm sure you can all work out where to buy them from, and you are all set to start building your cat tree that will be well under the $100 mark.
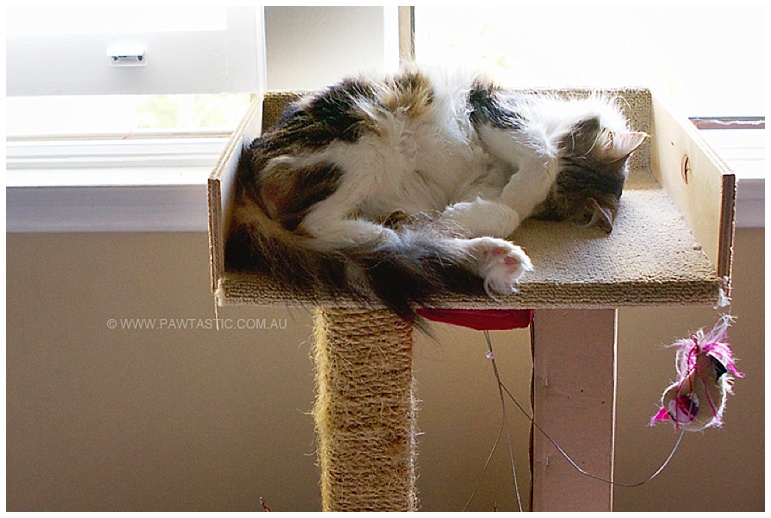
Hope this helps. Good luck with your own DIY cat trees and the photos below are a cat stand I made using offcuts and leftover ply and carpet from the cat tree. Total cost to build was $10. Score!!:-)


